


Table of contents
Introduction
In the recent past, I gained interest in malware/threat hunting and analysis of the various malware that has been affecting systems. As a SOC analyst and incident handler, I come across various alerts triggered by existing malware within the environment mostly introduced by user activity. I decided to embark on trying to understand how the malware samples we would get from host machines actually work and in some cases reverse engineer the malware. This will be a short series of articles highlighting the process of setting up a lab, conducting basic static and dynamic analysis, advanced dynamic analysis and finally reverse engineering malware.
Setting up the lab
After researching on how best to go about setting up the lab, I settled on the following tools because of their versatility and range of capabilities:
Flare VM - a fully customizable Windows-based security distribution for malware analysis, incident response and penetration testing developed by Mandiant.
Remnux - a Linux toolkit for reverse-engineering and analyzing malicious software. The main advantage of Remnux is that it provides a curated collection of free tools making analysis faster.
Flare VM
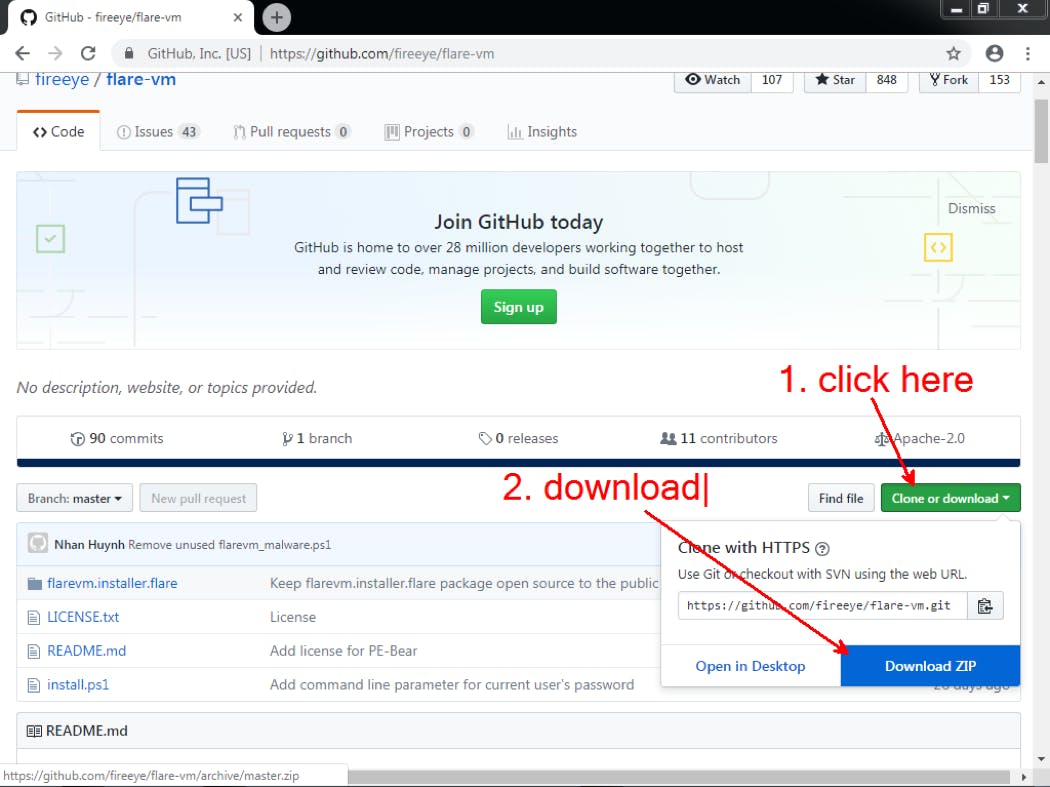
It is highly recommended that FLARE VM is installed in a virtualized environment for malware analysis to protect and isolate your physical device and network from malicious activities. Using your preferred hypervisor, create a new Windows VM and boot it up. In the VM, visit github.com/fireeye/flare-vm and download the zip file.
After downloading the zip file, follow the steps below to install FLARE VM:
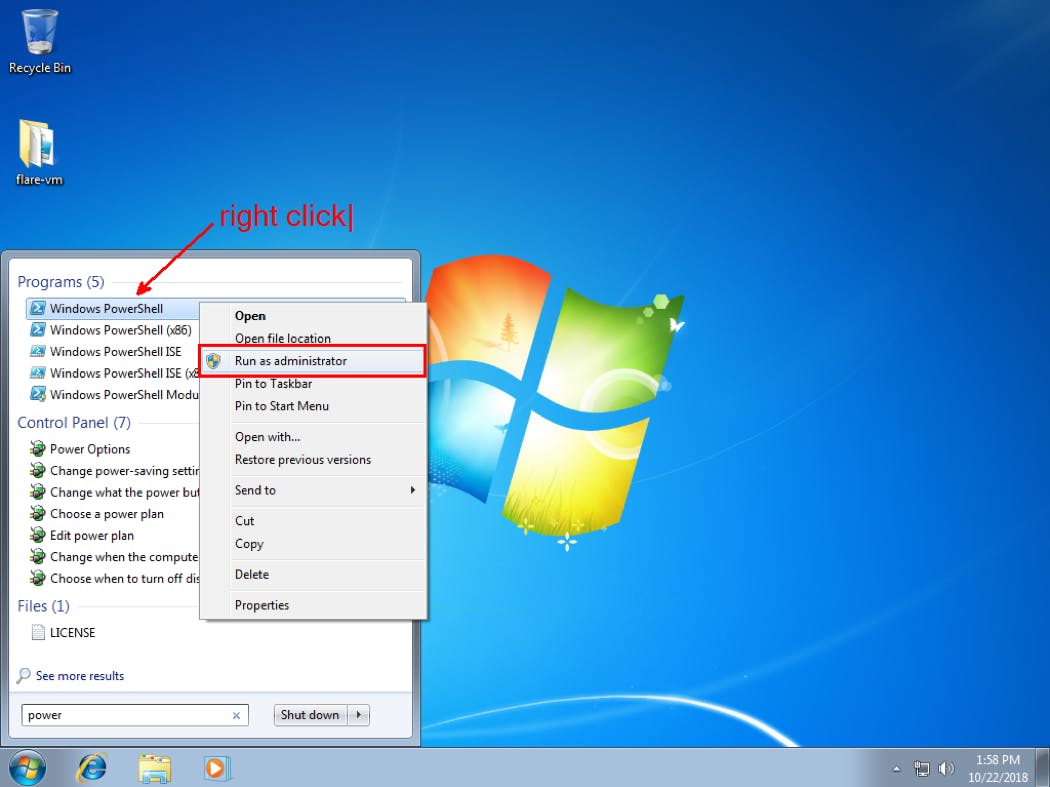
a. Decompress the FLARE VM repos to a directory and start a new session of PowerShell with escalated privileges. This is necessary for installation of additional dependencies that FLARE VM requires.
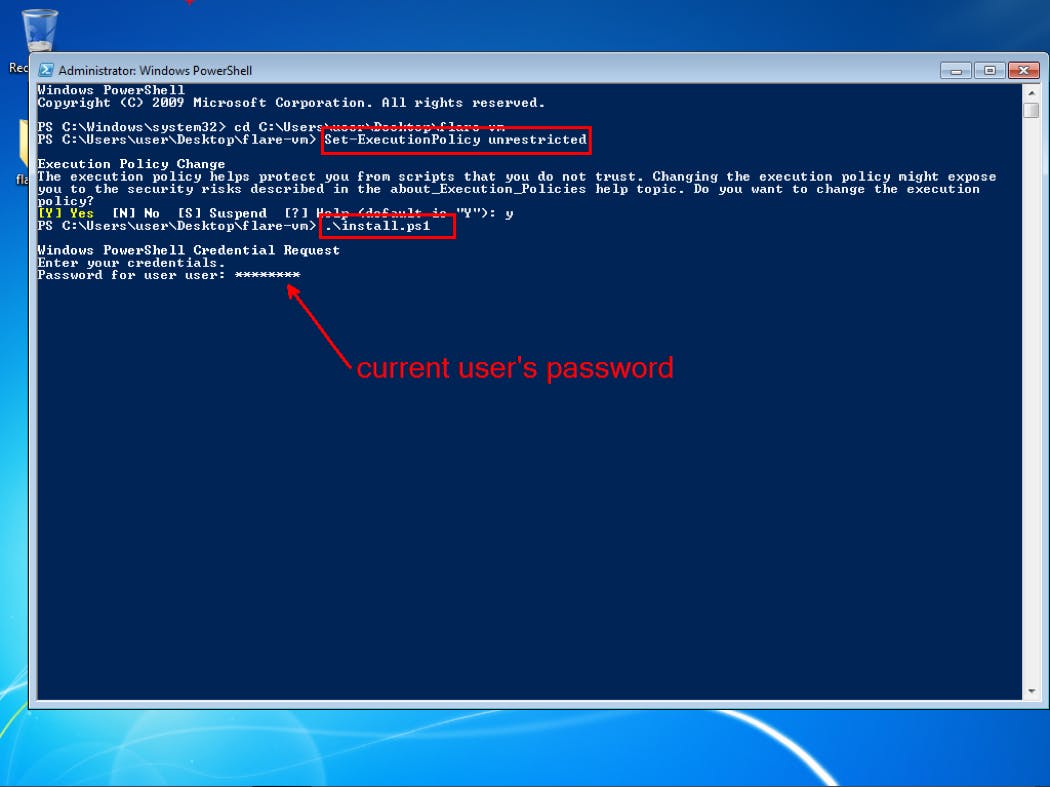
b. Enable unrestricted execution policy for PowerShell by executing
Set-ExecutionPolicy unrestricted
and answering “Y” when prompted by PowerShell
c. Execute the install.ps1 installation script in the decompressed FLARE VM repo. You will be prompted to enter the current user’s password. FLARE VM needs the current user’s password to automatically login after a reboot when installing.
d. Optionally, you can specify the current user’s password by passing the “-password ” at the command line.
The installation process for FLARE VM is fully automated and your computer will restart a few times before installation is complete. Depending on the speed of your internet, the whole process will take between 45 minutes to 1 hour to complete.
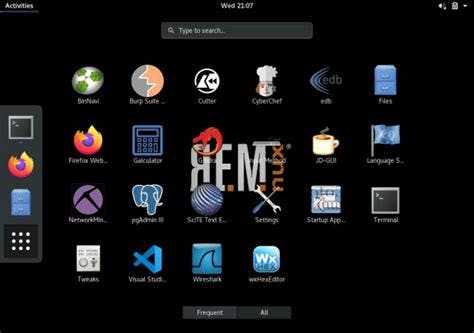
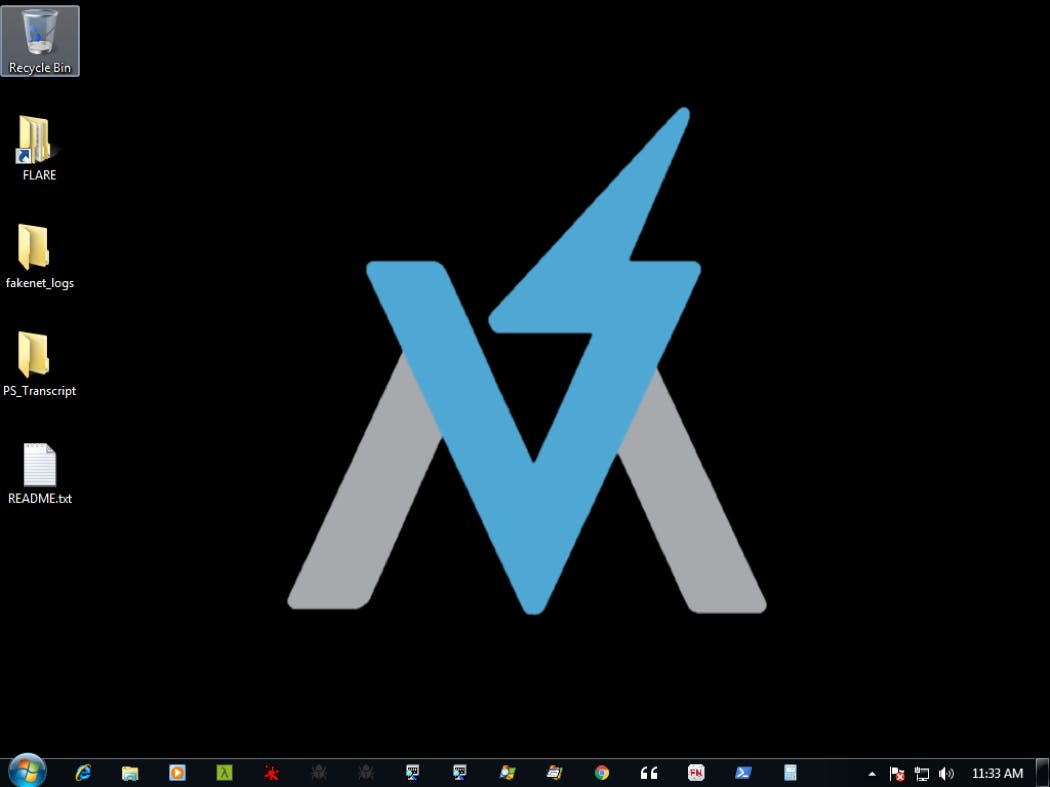 You will be provided with the desktop screen above after installation is complete.
REMNUX
Since Remnux is a Linux based OS, installation is very straight forward and completes in a shorter time compared to FLARE VM. Follow the steps below to download and install Remnux:
a. Download a copy of Remnux from docs.remnux.org/install-distro/get-virtual-... If you are using VMWare download the 'General' ova file. However, if you are using VirtualBox get the VirtualBox ova.
b. Confirm the hash of the ova file against the hashes provided on the official download website.
c. Import the ova file to your preferred hypervisor. For VMWare follow this link for guidance and for VirtualBox, use this link in case you get stuck.
d. Since it is a lightweight distro, allocating enough resources to it will make it more efficient and run faster. You will be presented with a screen similar to the one below after installation is complete.
In the next article we will discuss how to conduct basic static analysis using both FLARE VM and Remnux.
See you then 😃
References: